Want to take great photos? Mastering essential camera techniques can make all the difference. With just a little practice, you’ll be capturing stunning shots that impress everyone. It’s not just about having a fancy camera; it’s about knowing how to use it right.
First off, learn about lighting. Natural light is your best friend. Early mornings or late afternoons give you that golden glow that makes photos pop. Don't shy away from shadows either; they can add depth and drama to your shots. Experiment with different times of the day and see how it changes the way your photos look.
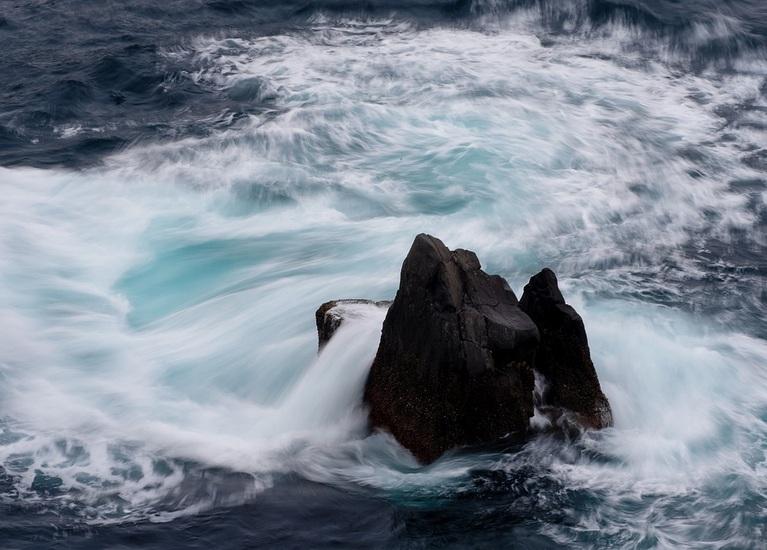
Next, focus on composition. The rule of thirds is a classic camera technique that’s super easy to follow. Imagine your frame divided into a tic-tac-toe board. Place your subject along those lines or at their intersections for a balanced shot. Don’t forget to look for leading lines, as they guide the viewer's eye right to the action.
Finally, remember to play with your settings. Adjusting your aperture can change the amount of light hitting the sensor, which affects depth of field. A wider aperture blurs the background, making your subject stand out. Lower your shutter speed for motion shots, but be careful to keep it steady. Just a few tweaks can really bump up the quality of your photos.
By employing these camera techniques, you’ll feel more confident snapping pictures. Get out there, have fun, and let your creativity shine!
Perfect Your Composition for Great Images
Getting your composition right can take your photos from good to amazing. Don't just point and shoot—think about what you want in your frame! Use the rule of thirds as a starting point. Imagine your image divided into a tic-tac-toe grid. Place your subject along these lines or at their intersections. This simple trick adds balance and draws the viewer's eye where you want it.
Another great technique is leading lines. Look around for natural lines that draw attention to your subject. Roads, fences, or even shadows can guide the viewer's eye deeper into the image. It creates a sense of depth and interest, making your photo much more captivating.
Don’t forget about framing! Use elements in the scene to frame your subject. Trees, windows, or doorways can all serve as natural frames. This helps focus attention on your main subject and adds a nice layer of context to the shot.
Lastly, experiment with perspectives. Change your viewpoint—get low to the ground or shoot from above. A unique angle can make an ordinary scene look extraordinary. Remember, Camera Techniques are all about playing around and finding what speaks to you. So grab your camera, try these ideas, and see what beautiful compositions you can create!

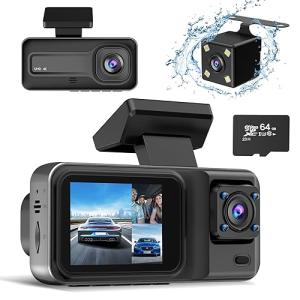
170° HD Waterproof Rear View Backup Camera
Get clear, reliable visibility while reversing with this waterproof backup camera designed for any weather
Product information
$19,956.00
Product Review Score
4.98 out of 5 stars
230 reviewsProduct links
Understanding Lighting for Better Photography
Good lighting can make or break your photos. Whether you're outdoors or indoors, understanding how light works is crucial when you're learning effective camera techniques. So, let’s break it down a bit.
First off, natural light is your best friend. Early mornings or late afternoons—when the sun is lower—is golden hour. This is when the light is softer and warmer. If you can plan your shoots around these times, you’ll get stunning results. And don't forget about cloudy days! They provide soft, diffused light that reduces harsh shadows, giving your photos that dreamy feel.
Next is the importance of angles. Changing your position even a little can drastically alter how light hits your subject. Try shooting from different heights or sides. Get a little creative! Remember, shadows can add depth and interest to your photos, but too much can make them look flat or lifeless. Balance is key.
Lastly, don’t underestimate artificial lighting. If you're stuck in low-light conditions, use a flash or a softbox to brighten things up. Just make sure you understand how it works with your camera techniques. Overexposing can wash out your shots, while underexposing might leave you with a blurry mess. Play around with settings until you find what works best for you!

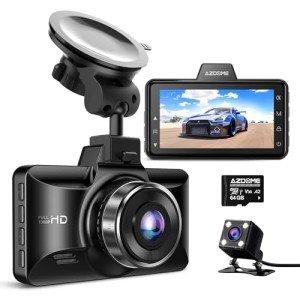
Dual Electronics Waterproof Color Backup Camera
Experience clear and reliable visibility in any weather with this durable backup camera designed to keep you safe on the road
Product information
Product Review Score
4.15 out of 5 stars
73 reviewsProduct links
Quick Tips for Camera Settings Success
Getting the right camera settings can be tricky, but with a few quick tips, you'll be on your way to snapping amazing photos. Understanding how to use your camera’s settings is crucial for gaining confidence and improving your photography skills. Let’s dive into some camera techniques that will make a big difference!
Start with the exposure triangle: aperture, shutter speed, and ISO. These three settings work together to create the perfect exposure. Want a blurry background? Lower the aperture (like f/1.8). Need to freeze that quick action shot? Speed up your shutter speed. If you're in dim lighting, raise the ISO to capture all the details—just watch out for noise!
Don’t overlook white balance. If your photos look too cool or warm, it might be because your white balance settings aren’t right. Experiment with presets like sunlight, shade, or fluorescent lights, or go manual for more control. This can dramatically change the mood of your pictures, making them look vibrant and true-to-life.
Finally, don’t be afraid to experiment with different shooting modes. Your camera might have auto, semi-auto, and manual settings. Start with aperture priority or shutter priority modes to see how they affect your shots. As you get comfortable, try going fully manual. This allows you to be in total control and really dive into those camera techniques!